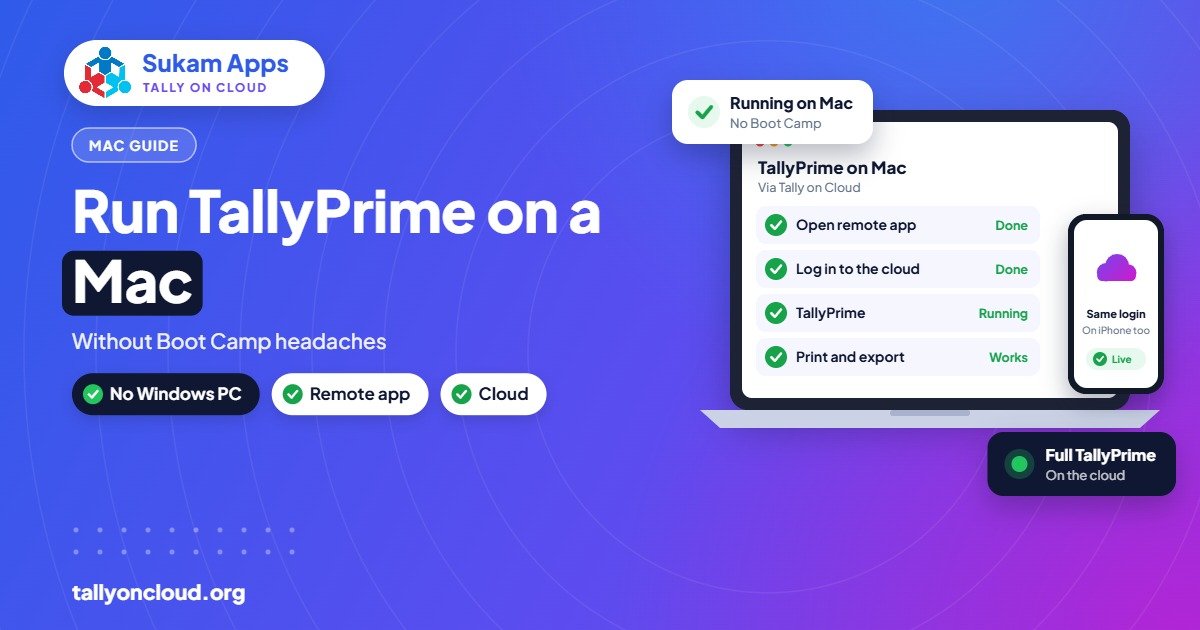
There is no native macOS version of TallyPrime, so to run TallyPrime on a Mac you need Windows somewhere. Your three practical options are: a Windows virtual machine on the Mac itself (Parallels or similar), an old Intel Mac with Boot Camp, or Tally on Cloud, where TallyPrime runs on a remote Windows server and your Mac simply connects to it. For most businesses in 2026, the cloud route is the least troublesome, especially on newer Apple silicon Macs.
Below we explain each option honestly, including the costs nobody mentions up front, and give you a simple way to decide.
Why TallyPrime on Mac Needs a Workaround
TallyPrime is built for Windows. Your licence, your company data folder, your TDL add-ons and your printer settings all assume a Windows machine. A Mac runs macOS, so TallyPrime cannot simply be installed from the setup file the way it is on a Windows laptop.
That leaves two broad approaches:
- Bring Windows to the Mac — install Windows inside a virtual machine (or, on older Intel Macs only, dual-boot with Boot Camp).
- Bring the Mac to Windows — keep TallyPrime on a Windows computer or cloud server and use the Mac only as a screen and keyboard through Remote Desktop.
Both work. The difference is in who maintains Windows, where your data lives, and how much the Mac has to struggle.
A Quick Word on Apple Silicon (M1, M2, M3, M4 Macs)
Since late 2020, Apple has sold Macs with its own chips instead of Intel processors. This matters for Tally users in two ways:
- Boot Camp is gone. Boot Camp only exists on Intel Macs. If you bought your MacBook Air or iMac in the last few years, dual-booting into Windows is not an option at all.
- Windows inside a VM is the ARM edition. Virtualisation apps on Apple silicon run the ARM version of Windows 11, which then emulates regular (x86) Windows programs. Many accounting programs run acceptably this way, but emulation adds a layer that can make printing, USB devices and some add-ons less predictable.
So if you use a recent Mac, your real choice is between a virtual machine on the Mac and a remote Windows machine. Test before you commit, and never move your only copy of company data into an untested setup.
Option 1: Windows Virtual Machine on the Mac (Parallels or Similar)
A virtualisation app creates a “computer inside your computer”. Windows runs in a window on your Mac, and you install TallyPrime inside that Windows just as you would on any PC.
How to set it up
- Check your Mac has enough room: aim for at least 16 GB of RAM and 60–80 GB of free storage, because Windows and macOS will share these resources.
- Buy and install a virtualisation app, then let it download and install Windows 11.
- Buy a Windows licence if the app asks for one. This is an extra cost many people forget.
- Inside Windows, download TallyPrime from the official Tally website and install it.
- Activate your existing TallyPrime licence or start in educational mode to test.
- Copy your company data folder into the Windows VM and open it in TallyPrime.
- Set up your printer inside Windows and print a test invoice.
Where it works well
- A single owner or accountant who works alone on one MacBook.
- Someone who needs to work offline, for example while travelling.
- People comfortable maintaining Windows updates, antivirus and backups themselves.
Where it hurts
- Data lives on one laptop. If the MacBook is stolen, damaged or the VM file gets corrupted, your books go with it unless you back up separately.
- Multi-user is awkward. If a second person in the office needs Tally at the same time, you are back to setting up a LAN and a Gold licence.
- Two operating systems to maintain. macOS updates and Windows updates both need attention.
- Battery and heat. Running Windows alongside macOS is noticeably heavier on a laptop.
Option 2: Boot Camp (Older Intel Macs Only)
If you still use an Intel-based Mac, Boot Camp lets you restart the machine into a full Windows installation. TallyPrime then runs as on any Windows PC, with full speed and direct printer access.
The headaches are well known: you have to restart every time you switch between macOS and Windows, partitioning the disk can go wrong, and Intel Macs are ageing hardware that Apple no longer sells. We would not build a business process around Boot Camp in 2026. If it already works for you, keep it, but plan your next step.
Option 3: Tally on Cloud (Mac Only Acts as a Screen)
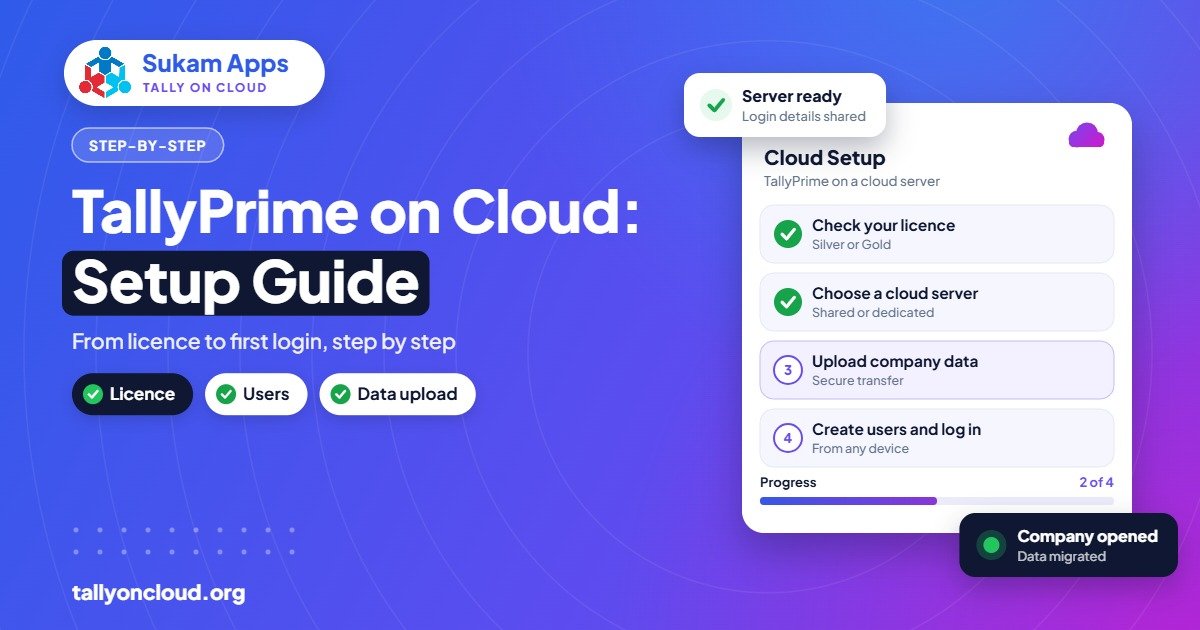
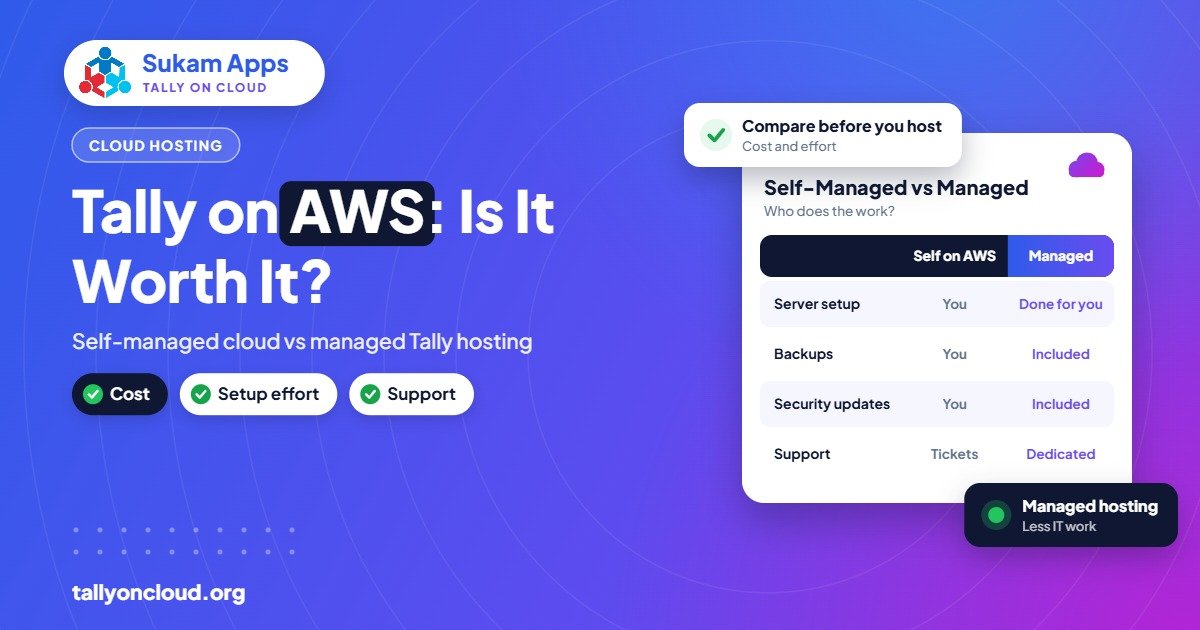
With Tally on Cloud, your licensed TallyPrime is installed on a Windows server in a data centre. The provider looks after Windows, security updates, backups and add-ons. You open a Remote Desktop app on your Mac, log in, and TallyPrime appears in a window, as if it were installed locally. Our complete guide to Tally on Cloud explains the full model.
How to connect from a Mac
- Install Microsoft’s free Remote Desktop app from the Mac App Store (on Apple devices it is now called Windows App).
- Your provider sends you the server address, username and password, or a ready-made connection file.
- Add the connection in the app and, in its settings, enable printer and clipboard redirection.
- Connect. TallyPrime opens on the server; you work in it normally.
- Print a test invoice to your Mac’s printer to confirm redirection works. If anything goes wrong, see our guide on printing from Tally on Cloud.
Why it suits most Mac users
- Nothing heavy runs on the Mac. Even an entry-level MacBook Air handles a Remote Desktop session easily.
- Apple silicon is a non-issue. TallyPrime runs on a normal x86 Windows server, so there is no emulation layer on your side.
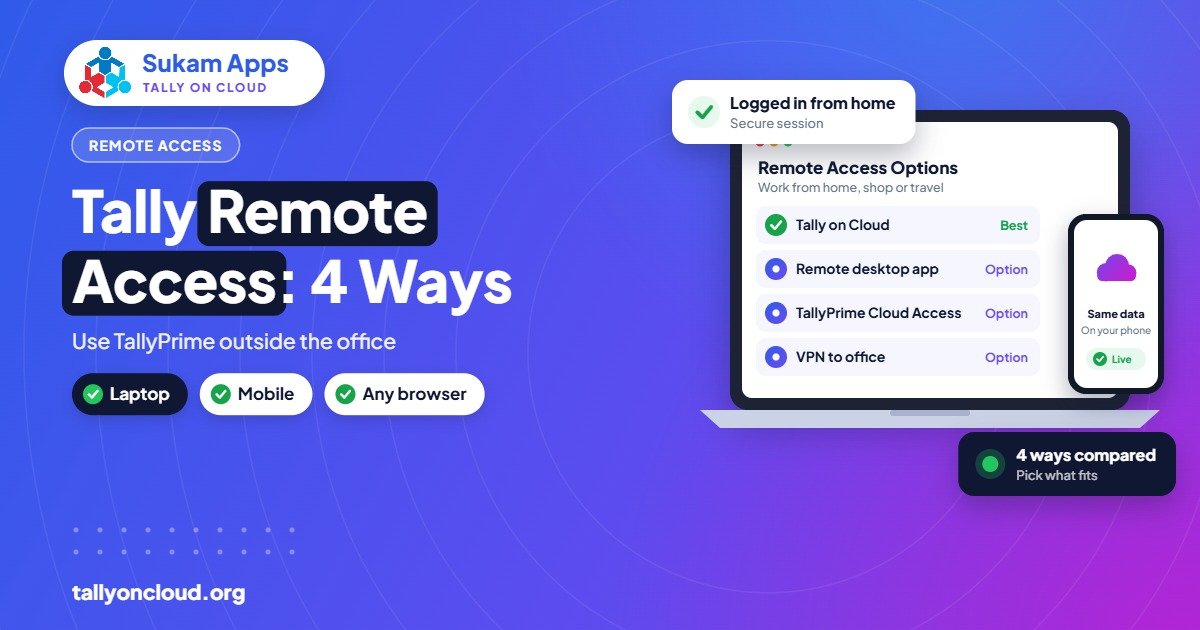
- Mixed offices just work. The owner uses a Mac, the accountant a Windows PC, the sales manager a phone. Everyone connects to the same company data. See how to use TallyPrime on a mobile phone for the phone side.
- Backups are someone’s job. A good setup includes daily backups on the server, so a lost laptop no longer means lost books.
The trade-off is that you need a working internet connection. A normal broadband line or even a decent 4G hotspot is enough for Tally, because only screen images travel over the connection, not your whole data file.
Comparison: Three Ways to Run TallyPrime on a Mac
| Factor | VM on the Mac | Boot Camp | Tally on Cloud |
|---|---|---|---|
| Works on Apple silicon | Yes (ARM Windows with emulation) | No | Yes |
| Works offline | Yes | Yes | No |
| Multi-user from different places | Difficult | Difficult | Built in |
| Extra licences | VM app + Windows | Windows | None on the Mac |
| Who maintains Windows | You | You | Provider |
| Data loss if Mac is lost | High risk without separate backup | High risk without separate backup | Low (data on server) |
| Mac performance impact | Heavy | None (Windows boots alone) | Very light |
Which Option Should You Pick?
Here is how we usually guide clients who call us with this question:
- You are a solo user, often offline, and like tinkering: a Windows VM on your Mac is fine. Set up an automatic backup to an external drive or cloud folder on day one.
- You have an old Intel Mac with Boot Camp already working: carry on for now, but plan to move before the hardware gives up.
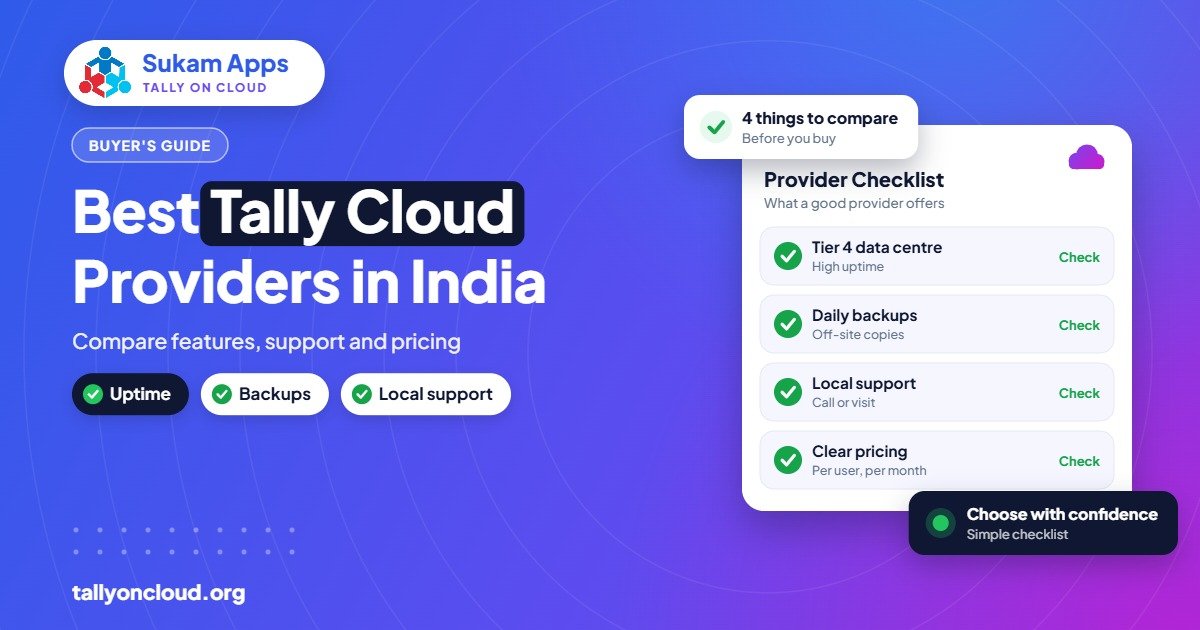
- You run a business with staff, branches or a CA who needs access: Tally on Cloud. A Ludhiana hosiery owner on a MacBook, his accountant on a Windows desktop in the factory and his CA in Jalandhar can all work on the same live books without anyone emailing data files.
Practical Tips for Mac Users on Tally
- Learn the keyboard mapping. TallyPrime is keyboard-driven. On a Mac, the Command and Option keys do not always map the way you expect. In the Remote Desktop app you can adjust this, and the function keys may need the fn key held down unless you change it in macOS settings.
- Use full screen. Running the session full-screen avoids macOS shortcuts clashing with Tally shortcuts.
- Keep your licence details handy. Whichever route you choose, you will need your TallyPrime serial and account details to activate or move the licence.
- Do not store company data in iCloud Drive inside the VM. Sync tools can corrupt an open Tally data folder. Use proper backups instead.
- Test printing before going live. Invoices, cheques and barcode labels each behave differently; test each format you use.
Frequently Asked Questions
Is there an official TallyPrime app for macOS?
No. TallyPrime is a Windows application. To use it on a Mac you need Windows running in a virtual machine, through Boot Camp on an Intel Mac, or on a remote server you connect to.
Can I run TallyPrime on an M1, M2, M3 or M4 MacBook?
Yes, either through a virtualisation app running ARM Windows, or through Tally on Cloud. Boot Camp is not available on these Macs. The cloud route avoids emulation altogether because TallyPrime runs on a regular Windows server.
Do I need a separate TallyPrime licence for my Mac?
No. You use your existing TallyPrime licence. With Tally on Cloud, your licence is activated on the server, and your Mac only connects to it. For more than one simultaneous user, you need a Gold (multi-user) licence.
Will Tally run slowly on a Mac through the cloud?
On a stable connection, it feels close to a local installation because only the screen is transmitted. Heavy reports are processed on the server, which is often more powerful than a laptop.
Can I print from my Mac when Tally is on the cloud?
Yes. Enable printer redirection in the Remote Desktop app and your Mac’s printer appears inside the cloud session, so invoices print on your desk.
Want TallyPrime working on your Mac this week? Sukam Apps has been setting up business software since 2011. We set up Tally on Cloud with your own licence, daily backups and local printing, and train your staff in Hindi or Punjabi, on-site across Punjab, Chandigarh Tricity, Haryana, Delhi NCR and Himachal, or remotely anywhere in India with a dedicated account manager. WhatsApp us on +91 99142 49191 for a free demo, or contact us here.